
Price monitoring workflow: save more with automation
You check a product price on Monday. It looks reasonable. You buy it on Friday. Then, over the weekend, the price drops $40. That stings. And it happens more than you think. Weekly price swings on common items like vacuums can range $30 to $60, and 82% of shoppers say rising prices are a real concern. Manual checking simply cannot keep up. An automated price monitoring workflow changes that. It watches prices around the clock, catches drops the moment they happen, and puts real money back in your pocket, especially during seasonal sales and product launches.
Table of Contents
- What you need for effective price monitoring
- Step-by-step workflow for automated price tracking
- Advanced strategies for seasonal sales and product launches
- Verifying results and optimizing your workflow
- Why most price monitoring advice misses the mark
- Take your price monitoring to the next level
- Frequently asked questions
Key Takeaways
| Point | Details |
|---|---|
| Automation increases savings | Automated workflows capture deals that manual tracking frequently misses, reducing errors and saving you money. |
| Seasonal strategies boost results | Identifying price patterns and setting smart alerts during sales and launches helps maximize your discount potential. |
| Combine AI and human checks | Mixing automated tools with periodic human audits ensures higher accuracy and prevents costly mistakes. |
| Optimize with ongoing audits | Regularly reviewing and adjusting your workflow further increases savings and minimizes missed deals. |
What you need for effective price monitoring
Having set the stage with why price monitoring matters, let’s look at what you’ll need to build your workflow.
Not all monitoring tools are created equal. Some are built for casual shoppers, others for power users tracking thousands of products. Knowing the difference saves you time and frustration.
Here’s a quick breakdown of the main options:
| Tool | Best for | Key strength |
|---|---|---|
| Camel/Keepa | Amazon shoppers | Deep price history, reliable alerts |
| Apify | Multi-site tracking | Flexible scraping across many retailers |
| Browser extensions | Casual users | Easy setup, instant price overlays |
| PriceLix | All-in-one shoppers | Automated daily checks, no extensions needed |
The core difference between manual and automated approaches comes down to scale and accuracy. Manual checking works fine for one or two products. But once you’re tracking more than a handful of items across multiple stores, it breaks down fast. Automation can reduce manual work by up to 90% and scale your tracking from 10 to 20 products all the way up to 10,000 or more.
For effective monitoring, look for these features in any tool you choose:
- Real-time alerts: Notifications that fire within minutes of a price drop, not hours
- Price history charts: Visual records showing highs, lows, and averages over weeks or months
- Customizable thresholds: Set alerts only when a price drops below your target, not for every minor change
- Multi-store support: Track the same product across Amazon, Walmart, eBay, and beyond
- Tracking scale: Can the tool handle your full wish list without slowing down?
Data quality matters too. Real-time data is essential for flash sales that last only hours. Historical data helps you spot patterns and avoid buying at a temporary low that will drop even further. Understanding the types of price tracking available helps you pick the right approach for your goals. And if you want to understand why automation beats manual checking in depth, the benefits of automated price checks are worth reviewing before you commit to a tool.
Pro Tip: Set your alerts to trigger at or below the historical low price for a product, not just any price drop. That’s where the real savings live.
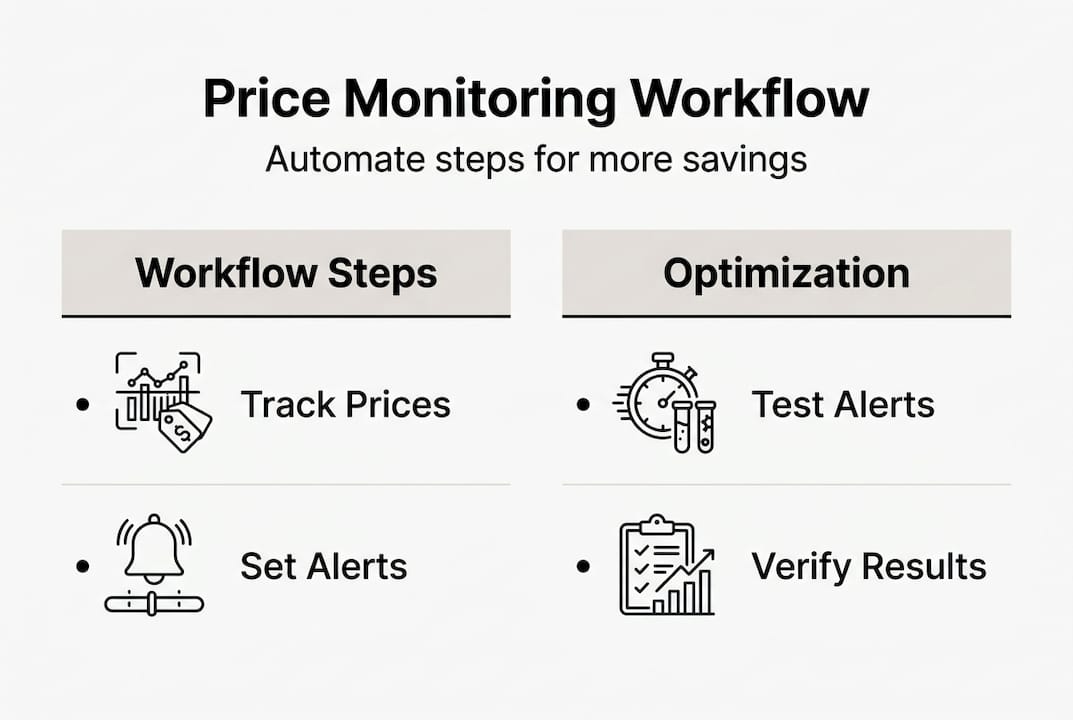
Step-by-step workflow for automated price tracking
With your tools at hand, here’s how to assemble and execute your price monitoring workflow step by step.
-
Build your product list. Start with the items you genuinely plan to buy. Add them to your tracking tool with the specific retailer URLs. Prioritize high-ticket items where a 15% drop actually matters.
-
Set your alert thresholds. Don’t alert on every price change. Configure your tool to notify you only when the price hits a specific target or drops a set percentage below the current average. Buying at historical lows or when prices are 15 to 20% below current levels is a reliable benchmark for locking in real savings.
-
Pull in historical price data. Before setting thresholds, review at least 90 days of price history. This tells you what “low” actually means for that product, not just what looks low today.
-
Integrate smarter automation where possible. For shoppers tracking dozens of products across multiple sites, AI adapts and human audit workflows outperform simple rule-based scripts. AI-based methods handle site redesigns and layout changes without breaking your tracking setup.
-
Schedule periodic human reviews. Automation is powerful, but it isn’t perfect. Set a recurring reminder to manually check your tracked items every few weeks. Look for false positives (a “deal” that’s actually a data error) and missed drops.
Here’s a quick reference for common workflow issues:
| Problem | Likely cause | Fix |
|---|---|---|
| False price drop alerts | Data scraping error | Cross-check with retailer site directly |
| Missed price drops | Alert threshold too narrow | Widen your percentage trigger |
| Tool blocked by retailer | IP or scraping limits | Use a proxy-enabled tool or switch platforms |
| Stale price data | Infrequent checks | Increase check frequency or upgrade plan |
For a deeper look at how to structure this process, the automation workflow for price tracking guide walks through configurations that consistently deliver 20 to 30% savings. You can also use the guide to monitoring prices to fine-tune your setup.
Pro Tip: Run a test week before fully committing. Track five products you already know the prices of and verify your tool catches every change accurately.
Advanced strategies for seasonal sales and product launches
Now let’s amplify your workflow with advanced strategies to make the most out of seasonal deals and releases.
Seasonal sales are where serious shoppers make or break their annual savings. But here’s the thing most people get wrong: they assume prices always drop leading up to a big sale. That’s not always true.
![]()
Prices often drop counterintuitively at demand peaks due to price elasticity. Retailers sometimes cut prices mid-event to move volume, not before it. This means your alert strategy needs to account for bands of price movement, not single target points.
Here’s how to sharpen your approach for seasonal events:
- Map out the price history band. Look at the last 12 months of price data for your target product. Identify the typical low range (not just the single lowest point). Set your alert within that band.
- Track multiple retailers simultaneously. The same product at Amazon might spike while Walmart quietly drops it 20%. Multi-site tracking catches these counterintuitive moves.
- Prepare for product launches differently. New releases rarely drop in price immediately. But time-series analysis of similar past launches shows that prices often soften 6 to 8 weeks after release. Set a delayed alert for that window.
- Compare deal types carefully. A 20% off promotion isn’t always better than a BOGO offer, depending on the product. Calculate actual cost per unit before acting on any alert.
- Use flash deal alerts with short response windows. Some platforms let you set mobile push notifications for flash sales. These deals can vanish in under an hour, so speed matters.
Stat callout: Research confirms that prices can dip 15 to 20% or more during peak demand periods, but only for specific product categories and time windows. Broad assumptions about “everything goes on sale” will cost you.
For a full breakdown of what to expect this year, the seasonal pricing trends analysis is a solid starting point. Pair it with the price tracking strategies for sales guide to build a complete seasonal playbook.
Pro Tip: Use multi-site tracking to catch counterintuitive drops. The retailer with the lowest price during a sale isn’t always the one running the biggest promotion.
Verifying results and optimizing your workflow
After you run your workflow, it’s essential to verify your results and keep fine-tuning for maximum savings.
Running a workflow without checking its accuracy is like driving without looking at the fuel gauge. You might be fine. Or you might be bleeding money without realizing it.
Start by measuring your true savings. Compare what you actually paid against the average price over the 90 days before your purchase. That’s your real ROI, not just the discount percentage shown at checkout.
Next, audit your workflow logs regularly. Look for:
- Anomalies: Prices that jumped or dropped by 50% or more in a single day (usually a data error)
- Missed alerts: Products that dropped below your threshold but didn’t trigger a notification
- Stale data: Items that haven’t updated in more than 24 hours
- False positives: Alerts that fired but the price wasn’t actually lower on the retailer’s site
Manual tracking risks costly errors, with AI-assisted workflows achieving error rates below 1% compared to much higher rates for purely manual approaches. Human audits align on about 76% of flagged anomalies, which means even a quick monthly review catches the majority of issues your automation misses.
“Inaccuracy in large-scale price monitoring costs $25,000 per day. For individual shoppers, the stakes are lower, but the principle is the same: errors in your workflow mean missed deals and wasted money.”
Here are the top optimization moves to make after your first month:
| Action | Why it matters |
|---|---|
| Revisit alert thresholds | Market conditions shift; last month’s low may not be this month’s |
| Remove stale tracked items | Clutter slows down your dashboard and buries real opportunities |
| Add new high-value products | Expand tracking as your wish list grows |
| Review historical low benchmarks | Update benchmarks quarterly for accuracy |
For a deeper look at how algorithms affect your results, the algorithm impact in price tracking breakdown is worth your time. You can also use the price tracking checklist to run a structured monthly review, and the tracking prices for savings guide covers the fundamentals if you want a refresher.
Why most price monitoring advice misses the mark
Here’s an uncomfortable truth: most price monitoring guides treat automation like a magic switch. Set it up, walk away, save money forever. That’s not how it works.
Retailers constantly update their site layouts, change URL structures, and introduce new promotional formats. Simple rule-based scrapers break when that happens. AI-based workflows with human audit achieve a 76% agreement rate on outlier detection, which is strong, but it also means 24% of unusual price events still need a human eye.
The guides that skip this step are setting you up for slow leaks in your savings. You think your workflow is running. It’s actually firing stale alerts or missing drops entirely.
The real edge comes from combining technology with a light but consistent human review. Schedule a monthly 20-minute audit. Check your logs, verify a handful of recent alerts, and update your thresholds. That’s it. This simple habit is what separates shoppers who consistently save 40% with price tracking from those who set it up once and wonder why it stopped working.
Pro Tip: Put a recurring monthly calendar reminder to audit your workflow. Twenty minutes once a month protects the savings you’ve worked to build.
Take your price monitoring to the next level
Ready to put this workflow into practice without juggling five different tools? PriceLix was built exactly for this.
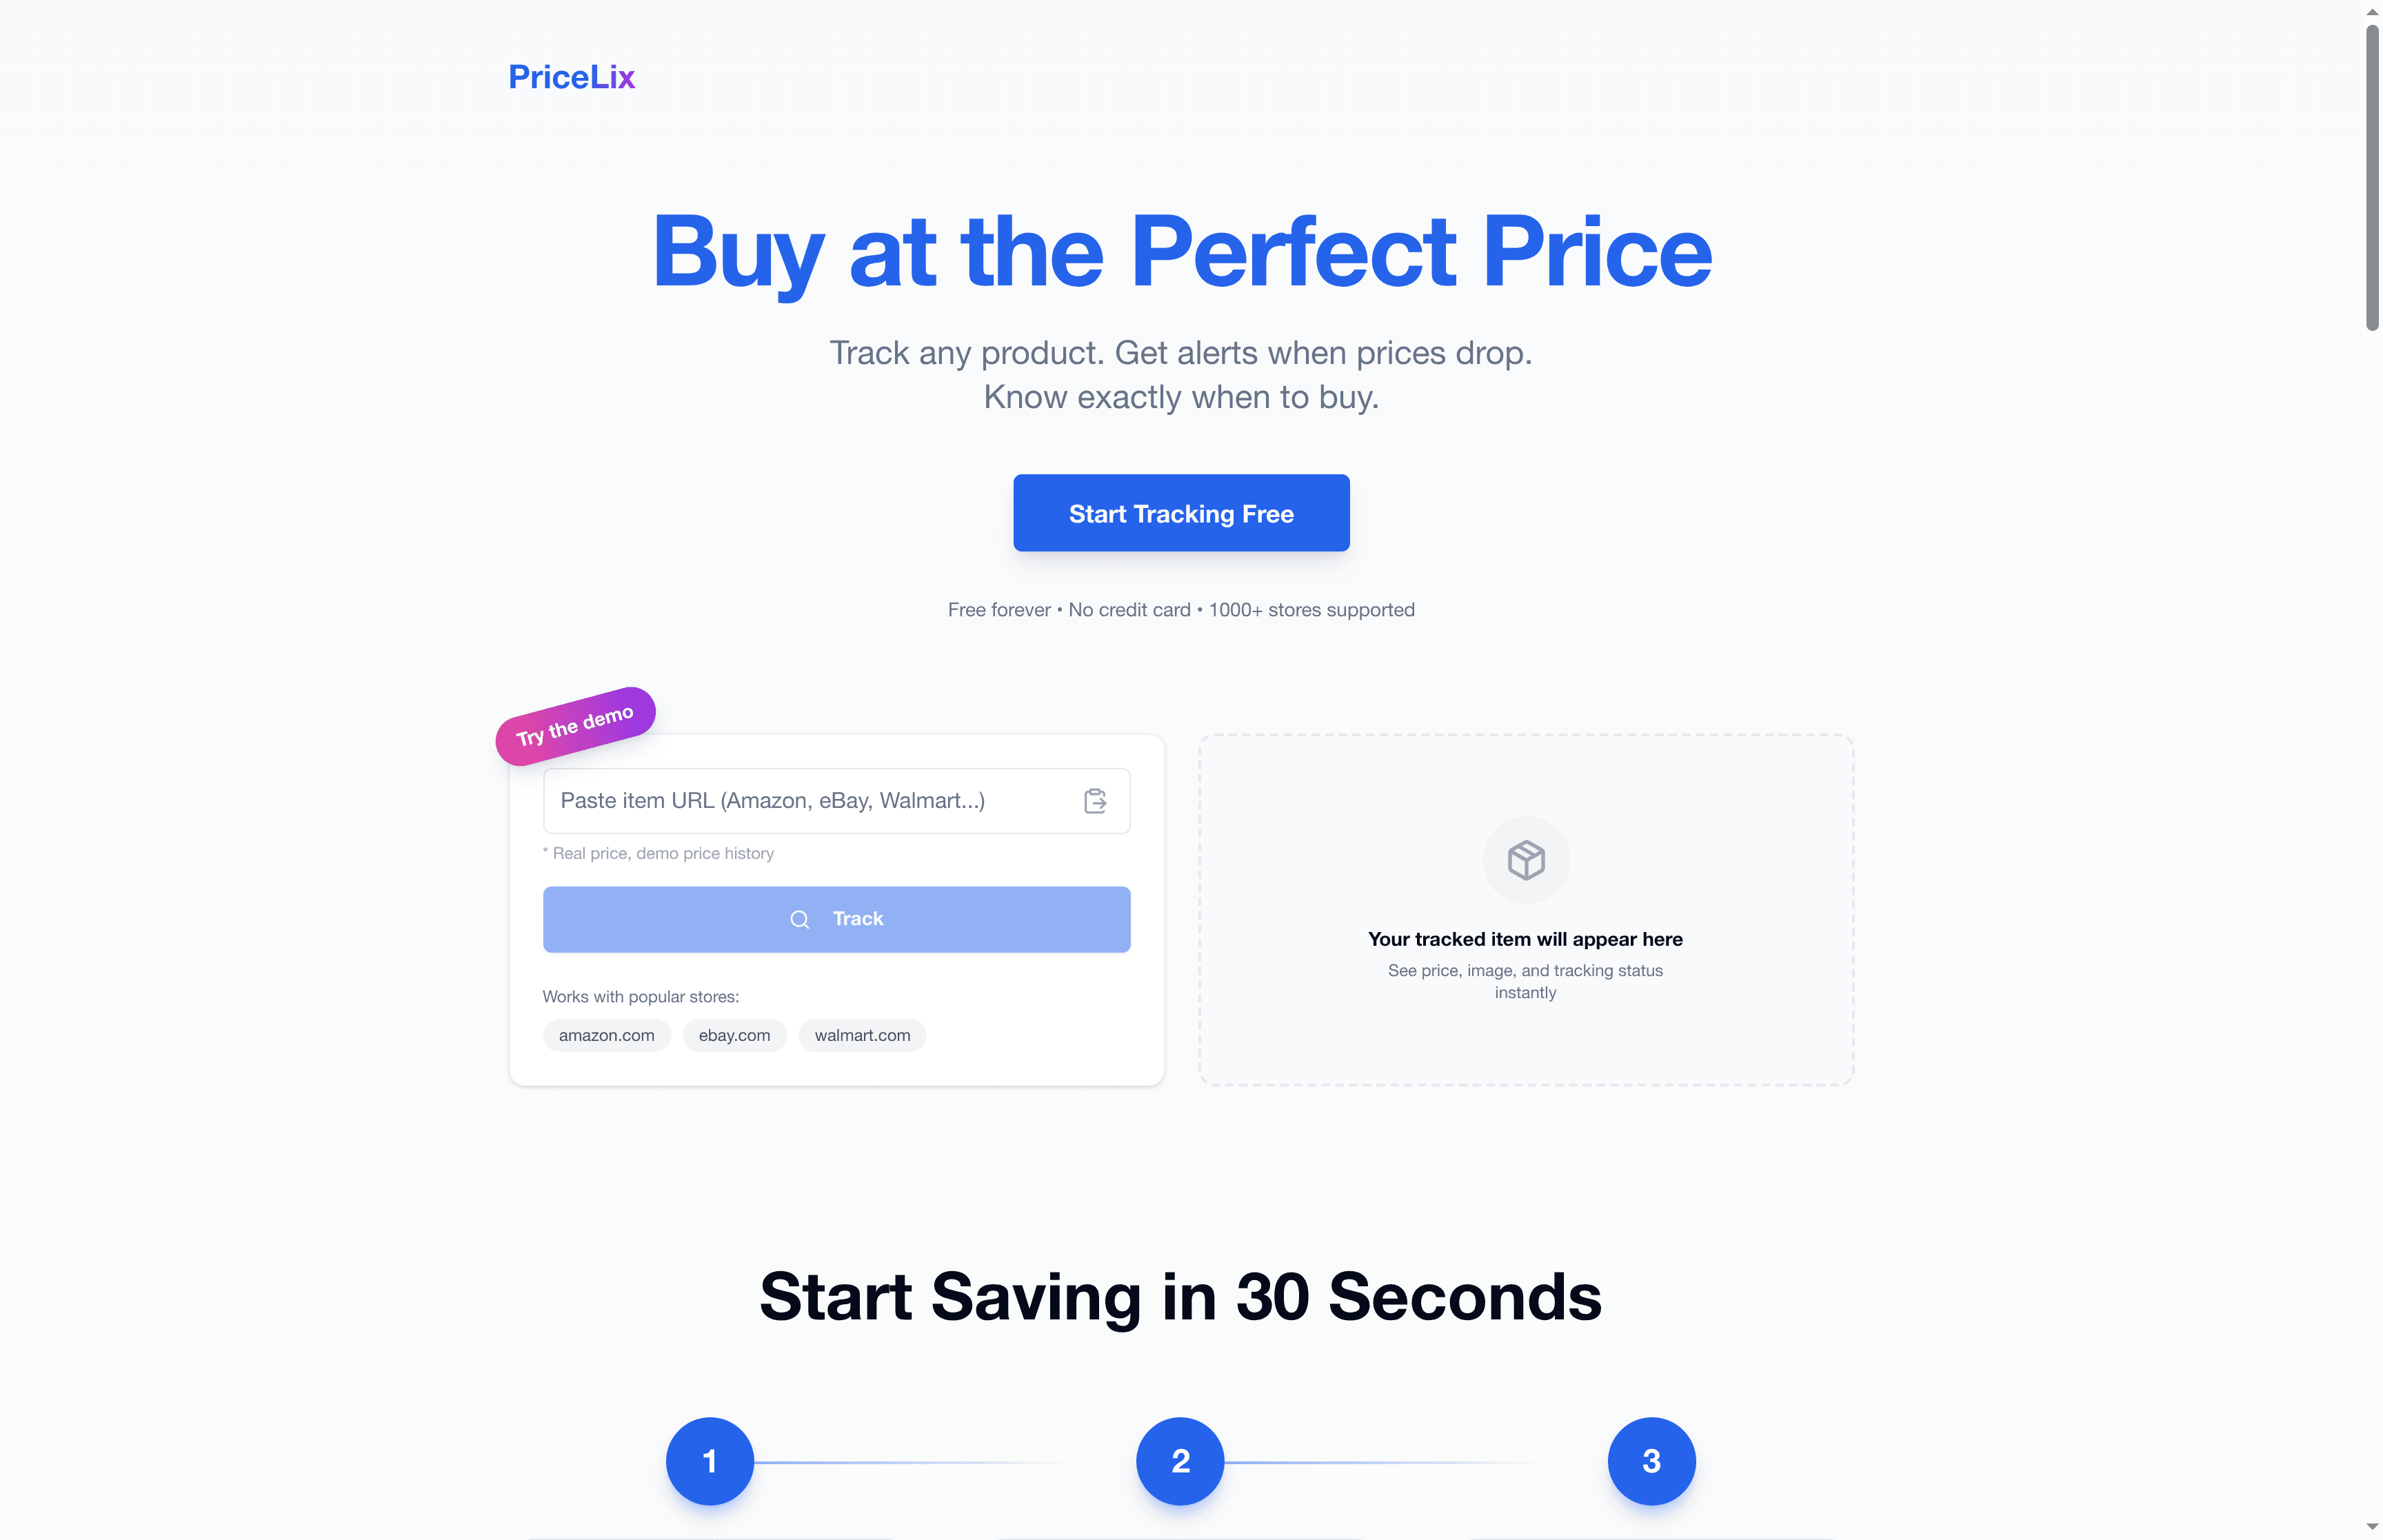
With automated price tracking tools built into a single dashboard, PriceLix monitors prices across Amazon, eBay, Walmart, and over a thousand other stores automatically. You get real-time alerts when prices drop, detailed price history charts to set smart thresholds, and daily automated checks without needing any browser extensions. No complex setup. No manual refreshing. Just clean, reliable tracking that works while you sleep. Whether you’re preparing for Black Friday, tracking a product launch, or just waiting for the right moment to buy, PriceLix gives you the data and the alerts to act at exactly the right time.
Frequently asked questions
How much can I realistically save using price monitoring workflows?
Most users can expect savings of 15 to 40% compared to average prices, particularly during sales and product launches. Empirical benchmarks consistently show the biggest savings come from buying at or near historical lows.
What’s the risk of missing deals if I rely only on manual price tracking?
Manual tracking misses fluctuating deals regularly, and in large-scale use, errors cost up to $25,000 per day. Automation dramatically reduces these misses by checking prices continuously.
Which tools are best for automated price tracking for online shoppers?
Camel and Keepa are reliable for Amazon, while Apify offers flexible multi-site tracking across many retailers. PriceLix combines both capabilities in a single, no-extension-required platform.
How do seasonal sales and product launches affect price monitoring strategies?
During seasonal peaks, prices dip unexpectedly due to elasticity, so using historical band analysis and smart alerts is far more effective than watching for simple percentage-off promotions.
How often should I audit my price monitoring workflow?
A monthly human audit is the sweet spot. AI adapts quickly to most changes, but a brief manual review catches the outliers that automation misses and keeps your alerts accurate.