
Your Workflow for Monitoring Discounts That Actually Works
TL;DR:
- Most shoppers miss good deals because their alerts are scattered across multiple apps or ignored due to notification overload. Building a low-effort, multi-channel monitoring workflow that includes thresholds, verification, and historical data ensures you catch genuine discounts and maximize savings. Using automated tools like Price-lix simplifies this process, allowing you to focus on verifying deals and stacking discounts effectively.
Most shoppers either miss real deals because their alerts are scattered across five apps or they get buried under so many notifications that they ignore all of them. Neither works. A solid workflow for monitoring discounts fixes both problems by giving you a repeatable, low-effort system that catches the right deals and filters out the noise. This article walks you through exactly how to build that system, from picking the right tools to stacking discounts like a pro once an alert fires.
Table of Contents
- Key takeaways
- Tools you need to start your discount monitoring process
- Step-by-step workflow for monitoring discounts effectively
- Common pitfalls that break your discount monitoring workflow
- Maximizing discount value through stacking and analysis
- My honest take on building a system that lasts
- Let Price-lix do the heavy lifting for you
- FAQ
Key takeaways
| Point | Details |
|---|---|
| Multi-channel alerts are non-negotiable | Relying on one source means missing deals; combine email, app push, and dashboards. |
| Set a threshold before you start | A minimum drop percentage (5% or more) prevents notification overload before it starts. |
| Verify before you buy | Always check retailer price, test coupon codes, and apply cashback in that order. |
| Historical price data is your reality check | It exposes fake “sales” where the price was artificially inflated before the discount. |
| Stacking beats headline discounts | Combining sale price, coupons, cashback, and loyalty points beats a single big percentage off. |
Tools you need to start your discount monitoring process
You cannot build a reliable discount monitoring process on scattered bookmarks and hope. Before you touch any workflow, you need the right infrastructure in place. Think of it like setting up a kitchen before you cook. The right tools do not just save time. They determine whether your system works at all.
Price tracking platforms and extensions
The foundation is a dedicated price tracker. These tools monitor product pages automatically and alert you when prices cross a threshold you set. Automated price trackers can monitor products across Amazon, eBay, Walmart, Shopify stores, and many more with configurable alert thresholds and webhook integration. Some extensions like PriceDropTracker automatically detect product pages, track prices in the background, and notify you of significant drops with configurable frequency and notification limits.
Beyond extensions, platforms like Price-lix go further by centralizing everything in one dashboard. No extensions needed, no manual checks, and no missed context.
Here is a quick breakdown of tool categories to consider:
- Dedicated price tracking platforms (like Price-lix): Centralized dashboards, price history charts, real-time alerts across hundreds of retailers
- Browser extensions: Convenient for in-session price checks but limited to when you are actively browsing
- Cashback portals (Rakuten, TopCashback): Layer additional savings on top of tracked discounts
- Deal aggregator apps: Useful for flash sale discovery but often lack per-product tracking depth
- Email deal newsletters: Good for passive discovery but terrible for time-sensitive offers
Multi-channel alert setup
Combining email, app push, and dashboards is what separates shoppers who catch deals from those who read about them after the fact. Each channel has a failure mode. Email goes to spam. Push notifications get silenced. Dashboards get forgotten. Use all three and you have redundancy built in.
Pro Tip: Turn on lock-screen notifications specifically for your price tracker app. A deal on a flash sale item can expire in under two hours, and email alone will not cut it.
You also need to factor in dynamic and personalized pricing. Retail prices fluctuate based on your browsing behavior, location, and the device you are using. That means the price your friend saw yesterday might not be the price you see today. Historical price data solves this by giving you a reference point that cannot be manipulated by a retailer’s algorithm. Price-lix’s price history charts are exactly this kind of reality check. You can also go deeper on this topic with Price-lix’s breakdown of retail price fluctuations.
| Tool type | Best for | Limitation |
|---|---|---|
| Price tracking platform | Full history, centralized alerts | Requires account setup |
| Browser extension | Quick in-session checks | Only works while browsing |
| Cashback portal | Stacking extra savings | No price tracking built in |
| Deal aggregator | Flash sale discovery | No per-product depth |
| Email newsletters | Passive deal discovery | Poor for time-sensitive offers |
Step-by-step workflow for monitoring discounts effectively
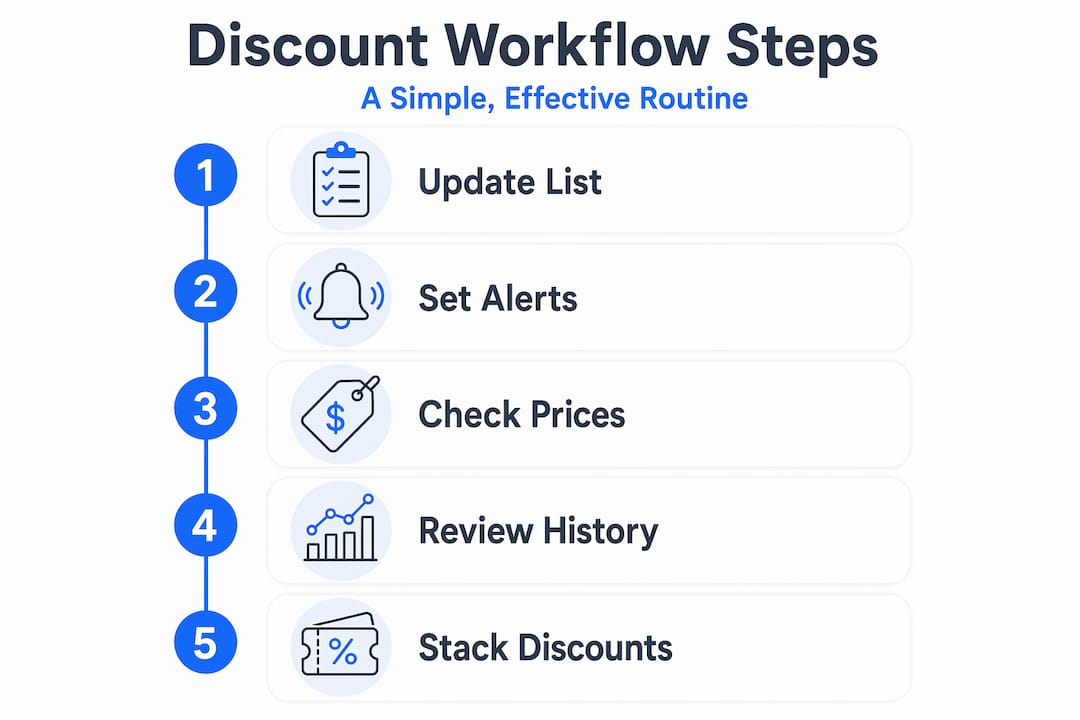
This is where most guides fall apart. They tell you to “set up alerts” and leave it at that. What follows is an actual discount analysis workflow you can run on autopilot with a few manual checkpoints each week.
-
Build and maintain your product watchlist. Start with 10 to 20 specific products you actually plan to buy. Include product variants you would accept, like different colors or storage sizes, because they often drop at different times. Review the list monthly and remove anything you no longer need. A bloated watchlist defeats the system.
-
Set your alert thresholds before anything fires. This is the step most people skip. Setting a minimum percentage price drop like 5% or more cuts notification noise dramatically. For big-ticket items over $200, set a higher bar like 10% to 15%. For items under $30, a flat dollar amount works better than a percentage.
-
Apply hysteresis to your alert rules. This is a technical concept that pays off fast. Implementing hysteresis in alert thresholds means your system will not keep firing every time a price bounces right at your cutoff point. If your threshold is $49, and a price oscillates between $48.50 and $49.50 all day, you do not want 30 alerts. Set a deadband so the alert fires once and resets only after the price moves meaningfully.
-
Run a verification sequence every time an alert fires. Do not buy the moment you see a notification. Follow this order every single time: check the retailer’s live price, test any available coupon codes, then activate your cashback portal. Coupons are most frequently redeemed within the first 48 hours of release, so acting in that window matters.
-
Schedule two active check-ins daily. Automation handles the monitoring, but your active attention is needed twice a day, once in the morning and once in the evening. These sessions are for reviewing queued alerts, checking flash sales on your tracked retailers, and clearing expired items from your list.
-
Prioritize by urgency and deal quality. Not every alert deserves immediate action. Sort your alerts by two factors: time sensitivity (flash sale versus ongoing price drop) and actual savings against historical price. An item that is “20% off” but only back to its 6-month average price is not a deal worth rushing.
Pro Tip: Use a simple notes app or spreadsheet to log the date and price of every purchase you make through your workflow. After three months, you will have real data on how much your system is saving you versus the retail price.
| Workflow step | Frequency | Time required |
|---|---|---|
| Watchlist update | Monthly | 10 minutes |
| Threshold review | Quarterly | 5 minutes |
| Alert verification | Per alert | 2 to 3 minutes |
| Active deal check-in | Twice daily | 5 minutes each |
| Log and review savings | Weekly | 5 minutes |
Common pitfalls that break your discount monitoring workflow
You can have the right tools and still sabotage your own system. Here is where most shoppers go wrong, and exactly what to do instead.
-
Relying on a single alert channel. This is the fastest way to miss a deal. If you only use email, you will lose to someone who also has push notifications on. Alert redundancy across email, apps, and dashboards is not overkill. It is basic protection.
-
Ignoring personalized pricing. Retailers use your browsing history, location, and device type to show you different prices. If you check a product on your phone five times in a row, do not be surprised if the price nudges up. Use incognito mode or rely on a price tracker that pulls objective historical data rather than your live session price.
-
Not setting thresholds before your alerts go live. Out-of-the-box notification settings on most tools are too sensitive. Every minor price wobble becomes a notification. Within a week, you stop opening them. Set thresholds first, always.
-
Trusting stale price data. Not all price trackers update at the same frequency. A tracker that updates every 24 hours can miss a flash sale entirely. Know your tool’s update cadence. Price-lix runs daily automated price checks, which covers most standard sales cycles without overwhelming you with micro-fluctuations.
-
Skipping the verification step. Clicking “buy” on a notification without confirming the live price, testing coupon codes, and stacking cashback leaves real money on the table. This single habit is responsible for more lost savings than any tool failure.
Remember: An alert is not a purchase signal. It is a starting gun for a 2-minute verification routine. The shoppers who build that habit consistently save more than the ones with the fanciest tools.
Maximizing discount value through stacking and analysis
Getting an alert is only half the work. The other half is making sure the discount is real and that you are extracting maximum value from it. This is where your discount analysis workflow pays off, because discount effectiveness depends far more on offer terms than on the headline percentage.

A product “50% off” that requires a bundle purchase of three items, a minimum cart value, or a membership you do not have is not actually 50% off for you. Read the terms before you factor the savings into your decision.
The optimal stacking order
When you have verified a genuine deal, follow this stacking sequence to maximize what you actually save:
- Start with the sale or reduced price as your baseline
- Apply any coupon codes (retailer-specific first, then third-party)
- Activate your cashback portal before completing checkout
- Use loyalty points to reduce the final total
- Check for free shipping thresholds you can meet by adding a low-cost needed item
The order matters. Some cashback portals will not track your purchase if a coupon code is entered first. Test your specific portal’s rules once so you do not have to guess each time.
Using historical data to spot fake discounts
This is where historical price data becomes genuinely powerful. Retailers regularly inflate a product’s “original price” in the weeks before a sale event so the discount looks larger. If you have 90 days of price history on a product, that move is obvious. The chart shows a flat line at $40 for three months, a spike to $60 two weeks before Black Friday, and then a “50% off” sale back to $40.
Pro Tip: Before buying anything marketed as a major sale, check 90 days of price history. If the current “sale” price matches or exceeds the product’s average over that period, pass on it or wait. The best price tracking strategies all start with this exact check.
| Deal type | What to check | Red flag |
|---|---|---|
| Percentage discount | 90-day price history | Price was inflated before the “sale” |
| Bundle deal | Individual item prices | Bundle costs more than buying separately |
| Loyalty discount | Membership cost vs. savings | Annual fee exceeds total expected savings |
| Flash sale | Update frequency of your tracker | Price returned to normal within hours |
My honest take on building a system that lasts
I have been tracking discounts long enough to have fallen for every trap in the book. Bought items on “deals” that were actually at their standard price. Set up elaborate alert systems that I abandoned after two weeks because they spammed me senseless. Missed genuinely good sales on items I actually wanted because I was too focused on a tool that only checked prices once a day.
Here is what I have learned that most discount guides will not tell you: automation alone does not save you money. It creates conditions where you could save money. The human judgment layer is what makes it real. When I finally stopped treating every alert as a signal to act and started treating it as a signal to verify, my actual savings went up and my impulse purchases went way down.
The “too good to be true” instinct is genuinely useful. If something is 70% off and you have never seen it that low before, do not rush. Check the history. Check the seller rating. Check whether the product is being discontinued. I have chased “incredible deals” that turned out to be clearance on a model that was about to be replaced by something better at a higher price.
My favorite setup is deliberately simple. A centralized tracker like Price-lix handles the monitoring. Push notifications are set to fire only above a meaningful threshold. And I check the queue twice a day, spending maybe ten minutes total. The smart alert checklist approach is what got me there. Complexity is the enemy of consistency. The system you actually use beats the perfect system you abandon.
— Serhii
Let Price-lix do the heavy lifting for you
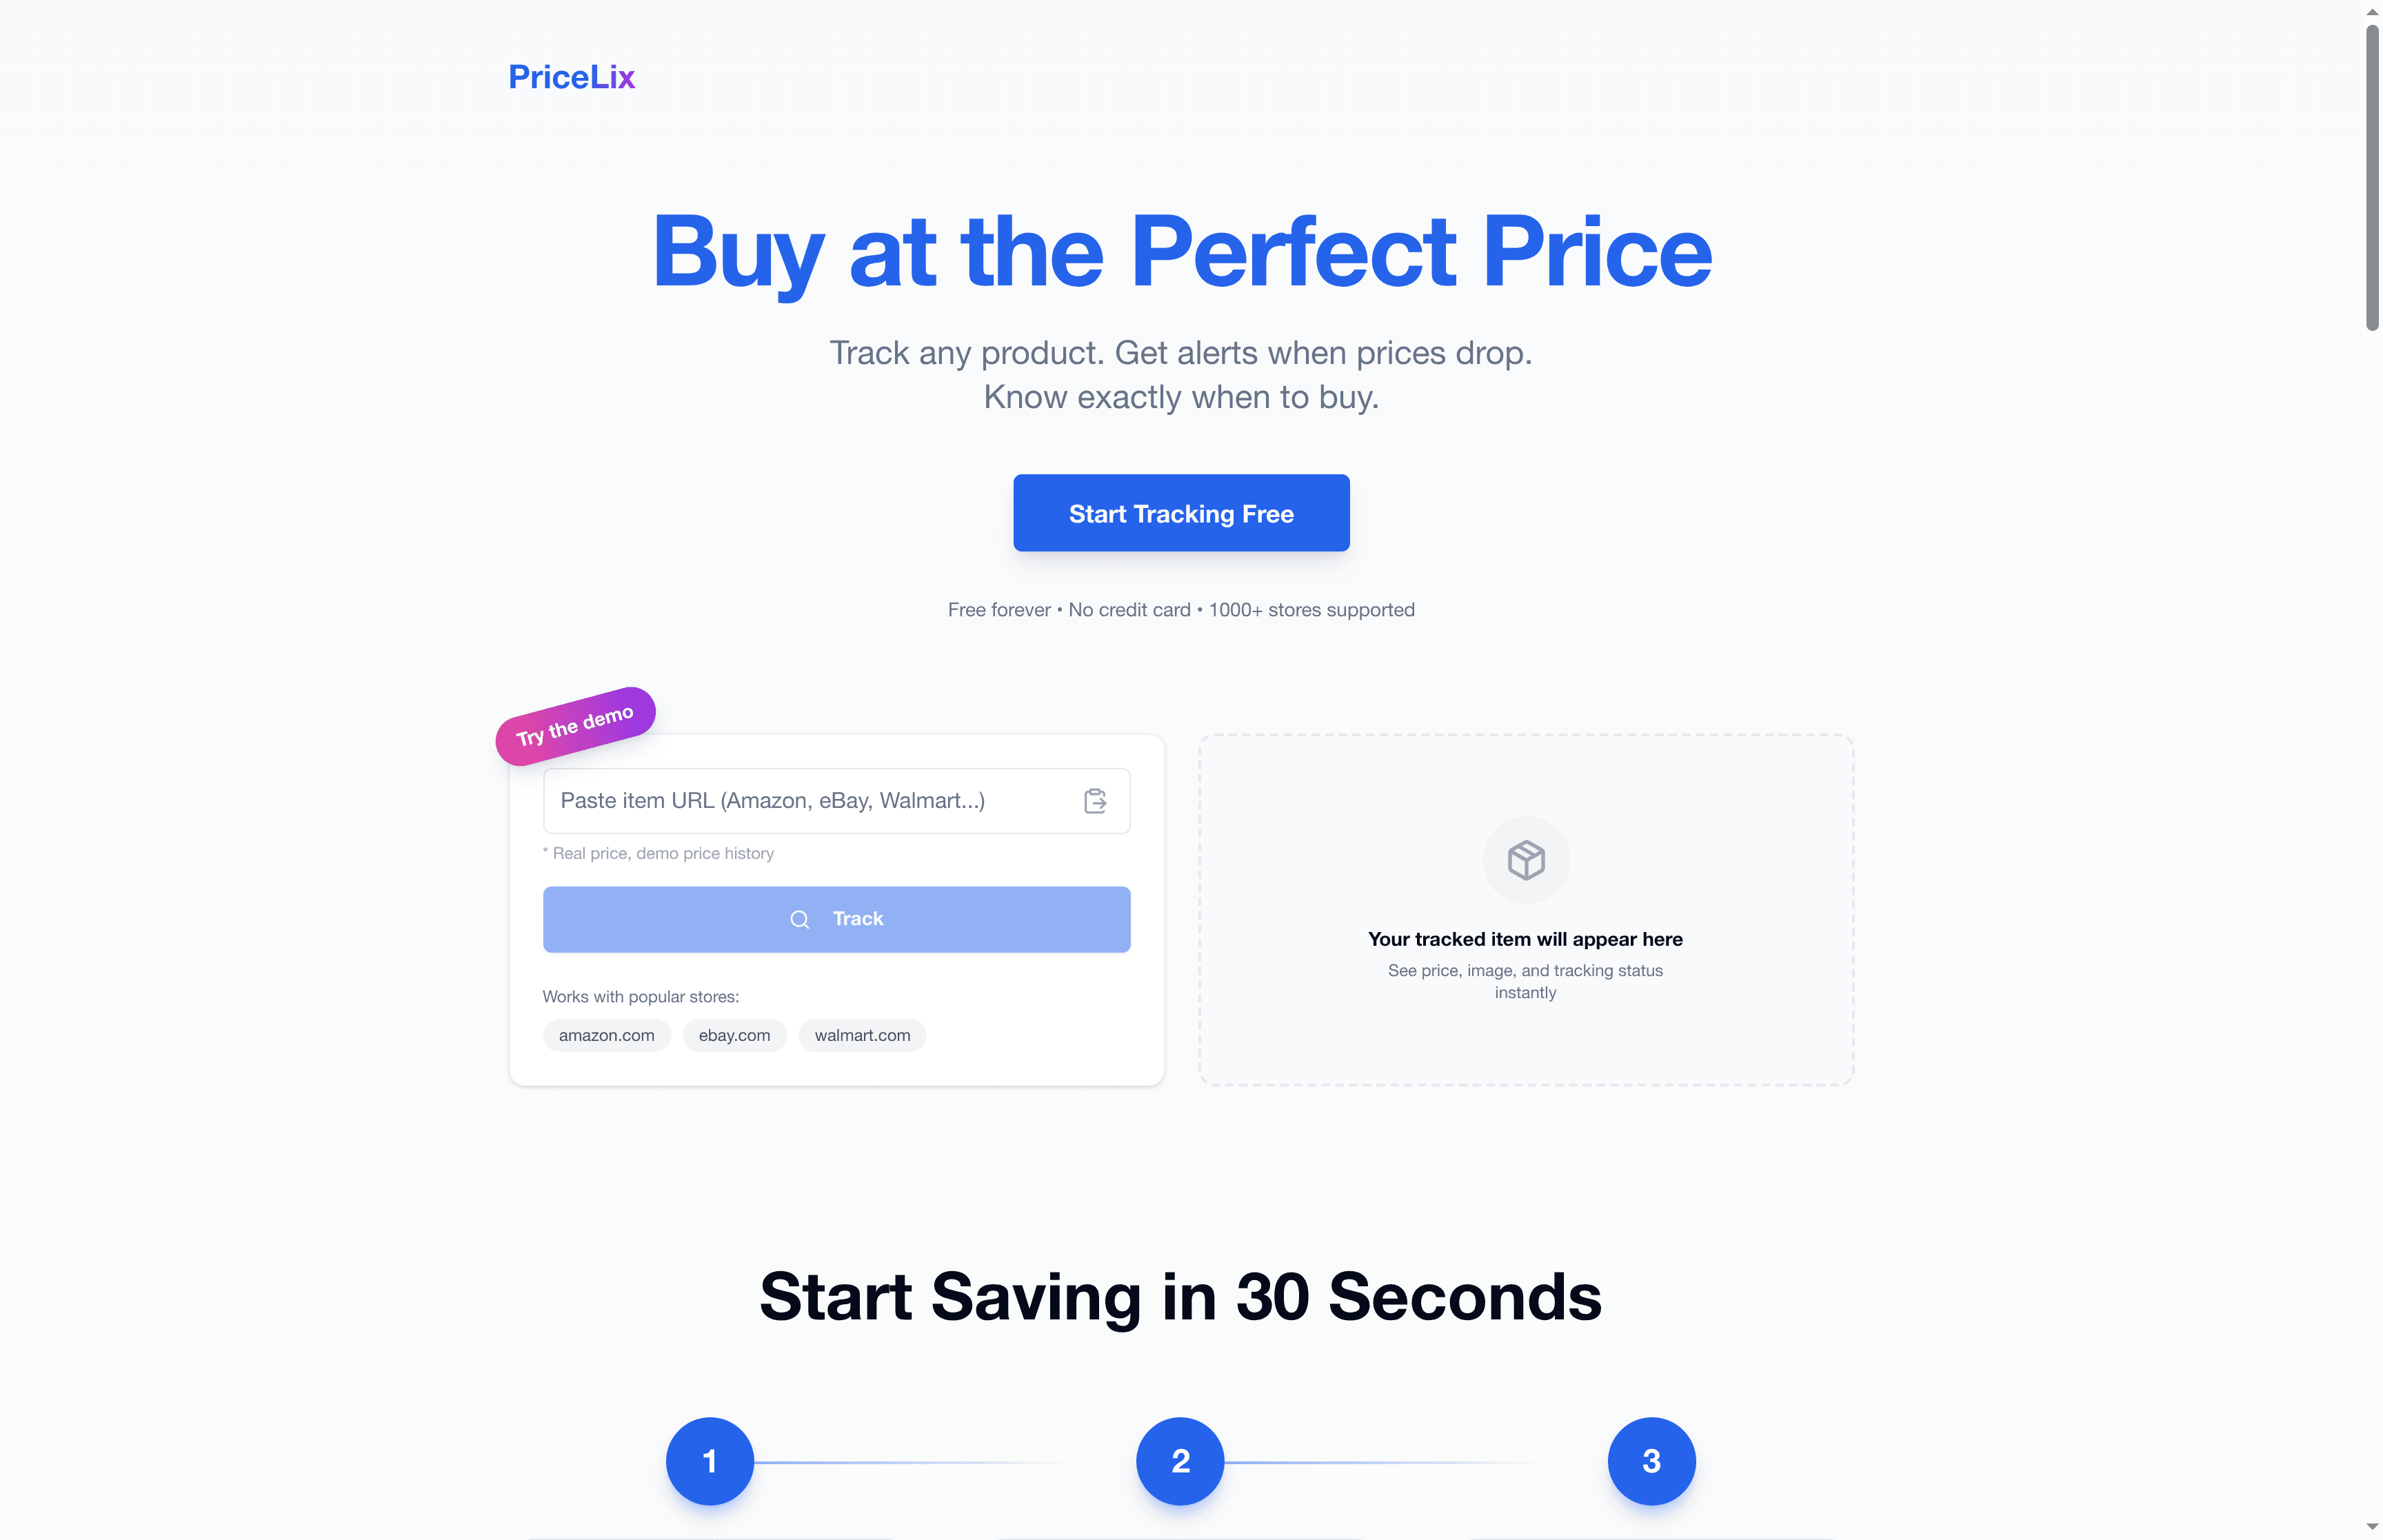
Building a workflow for monitoring discounts from scratch takes time. Price-lix is built to handle the hardest parts automatically so you do not have to. The platform tracks prices across Amazon, eBay, Walmart, and over a thousand other stores, updating daily and alerting you the moment a product crosses your threshold. You get full price history charts to spot fake sales, multi-channel alert options to cut through notification noise, and a consolidated dashboard that shows everything you are tracking in one place. No browser extensions required. No manual checking. Just a smarter, faster way to catch the deals that actually matter. Start tracking prices on Price-lix and put your discount monitoring on autopilot today.
FAQ
What is the best workflow for monitoring discounts?
The most effective workflow combines a price tracking platform, multi-channel alerts, a minimum discount threshold, and a brief daily review session. Follow each alert with a verification routine that checks the live price, tests coupon codes, and applies cashback before purchasing.
How do I avoid alert fatigue in a discount monitoring process?
Set a minimum percentage drop of at least 5% before alerts fire, and apply hysteresis rules so prices hovering near your threshold do not trigger repeated notifications. Keeping your watchlist under 20 products also helps maintain signal quality.
How can I tell if a discount is genuine?
Check 90 days of price history before buying. If the “sale” price matches the product’s average price over that period, the discount is likely inflated. Price-lix’s historical price charts make this check take under 30 seconds.
What is the right order for stacking discounts?
Apply the sale price first, then coupon codes, then activate your cashback portal, then use loyalty points. The order matters because some cashback portals will not track purchases if a coupon code was entered first, which can void your cashback earnings.
How often should I check my discount alerts?
Two active check-ins per day, morning and evening, is enough for most shoppers. Automation handles the monitoring in between. This keeps you responsive to time-sensitive flash sales without letting deal-checking consume your day.